Even though our Salesforce integration is currently under development, there is still a way how you can use Salesforce with Xodo Sign in the meantime. The way to achieve this is with the help of Zapier. This means you can still create, modify and handle document signatures from within your Salesforce processes. Zapier lets you send info between Xodo Sign and Salesforce automatically - no code required.
With the Xodo Sign integration, there are 2 different triggers and 1 action that can be used in Zapier. You can automatically trigger actions using either a "Document Sent" or a "Document Completed" trigger. This means it's possible to automatically update your CRM when you receive a signed contract back from your customer, for example.

It's also possible to use Salesforce triggers to perform the "Use Template" Xodo Sign action, which allows you to automatically send a Xodo Sign template for signature based on a trigger. For example, you could trigger this "Use Template" action by moving a deal into a certain stage, which could then send the templated contract for signature (and pre-populate it with data from your CRM).
First, you need to make a new Zap:
After that, set up your Salesforce trigger:
Then, set up and customize the Xodo Sign "Use Template" action: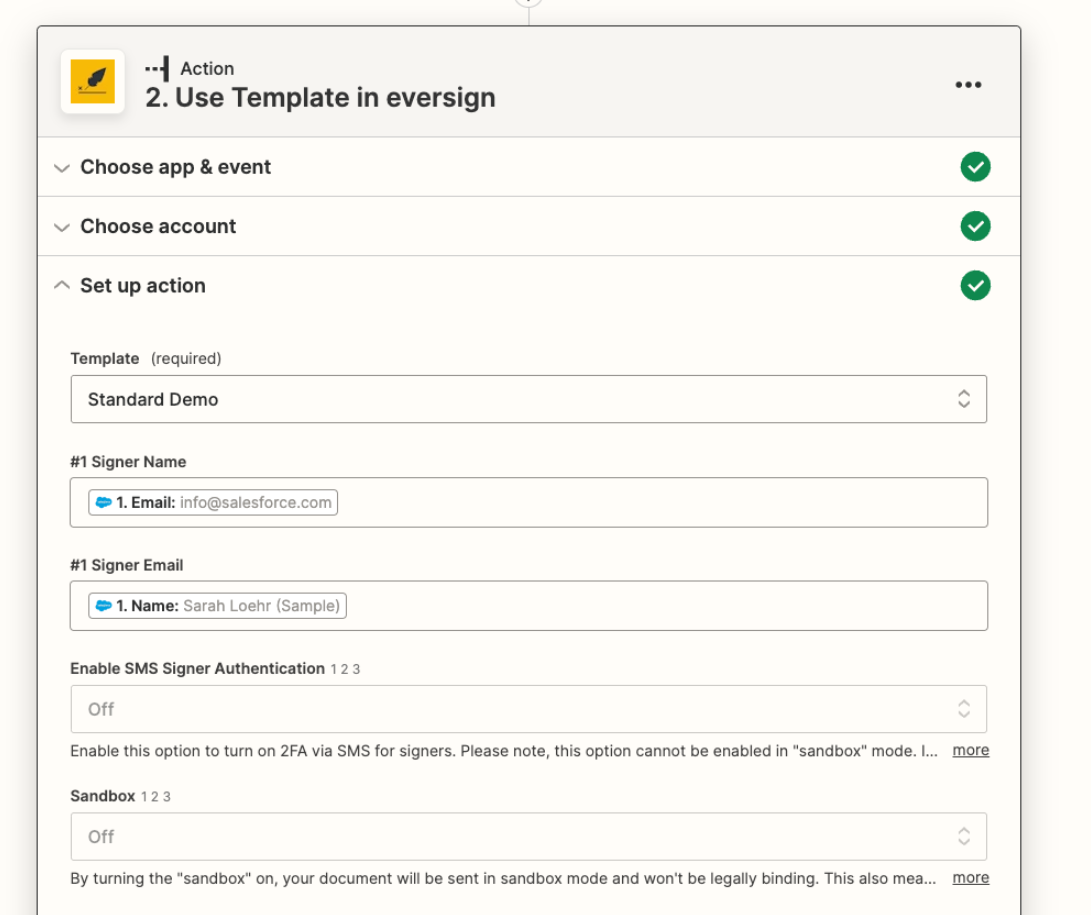
Finally, we suggest testing your trigger and action and then click on the "Publish Zap" button: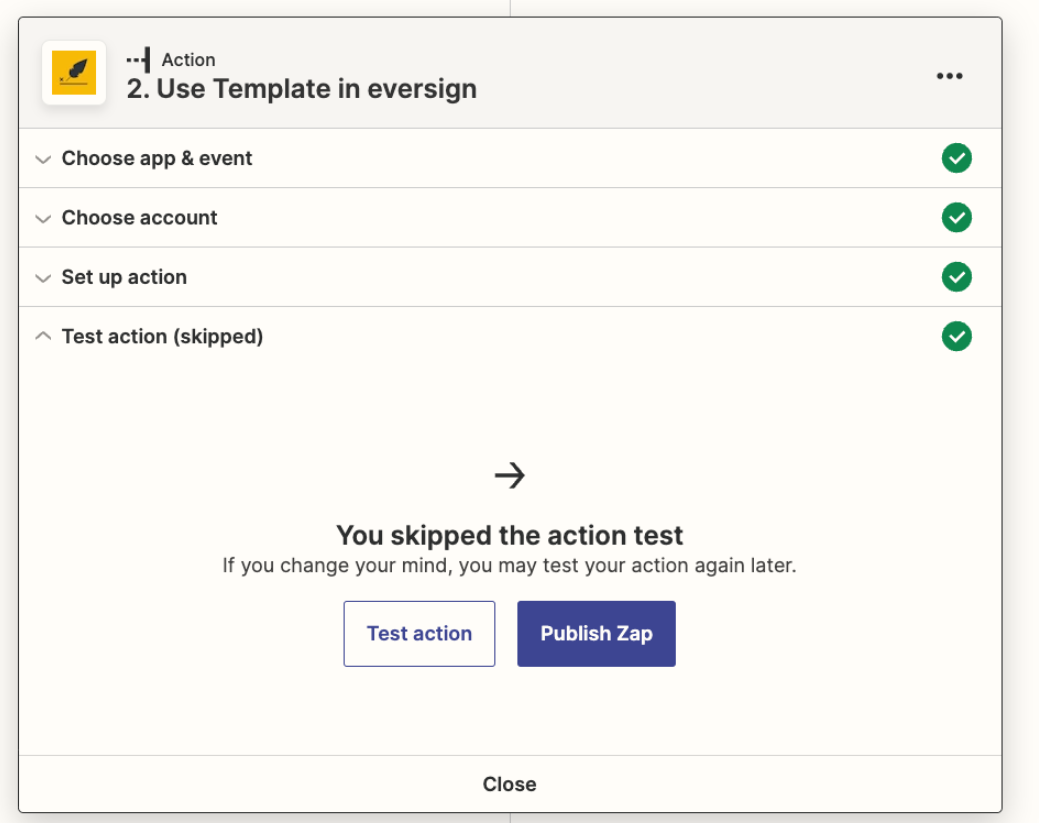
How do I connect Xodo Sign to Zapier?
Log in to your Zapier account or create a new account.1. Navigate to "Connected Accounts" from the top menu bar.
2. Now click on "Connect new account" and search for "Xodo Sign."
3. Use your credentials to connect your Xodo Sign account to Zapier.
4. Once that's done, you can start creating an automation! Use a pre-made Zap or create your own with the Zap Editor. Creating a Zap requires no coding knowled
Was this article helpful?
That’s Great!
Thank you for your feedback
Sorry! We couldn't be helpful
Thank you for your feedback
Feedback sent
We appreciate your effort and will try to fix the article