The new document prepare and send view walks you through sending a document for eSignature in a clearer, step-by-step workflow. It helps you add recipients, upload files, place fields, review settings, and send with fewer missed steps.
If this is your first time using the new view, a message appears at the top of the page letting you continue with the new experience or return to the classic view. You can also change this later in User Settings.
What the new view helps you do
Instead of completing everything from a single, crowded screen, the new document prepare and send view guides you through the process in order:
Add recipients
Upload document files
Prepare fields for signing
Review message and document settings
Send the document
Before you begin
You need an active Xodo Sign account.
Have your document ready to upload.
Have the email address for at least one signer.
How to use the new document prepare and send view
Step 1: Add your document and recipients
Start a new send request and upload the file you want to send. Then add the people who need to sign.
Upload one or more files.
Add at least one signer with a valid name and email address.
Add any additional signers or CC recipients if needed.
Once one document and one signer have been added, you can move to the next step.
You must add at least one document and one signer before you can continue to the next step.
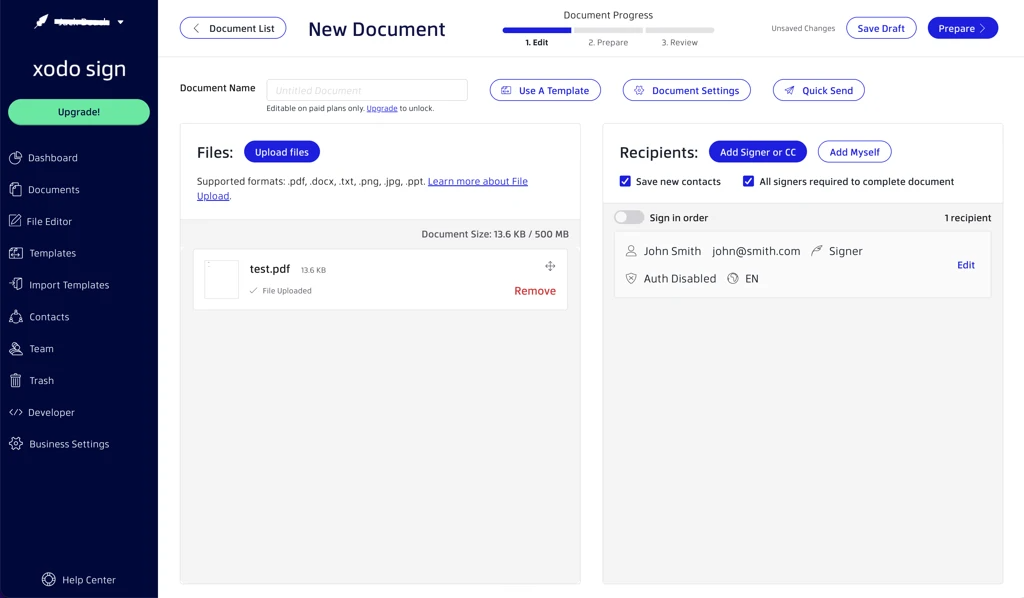
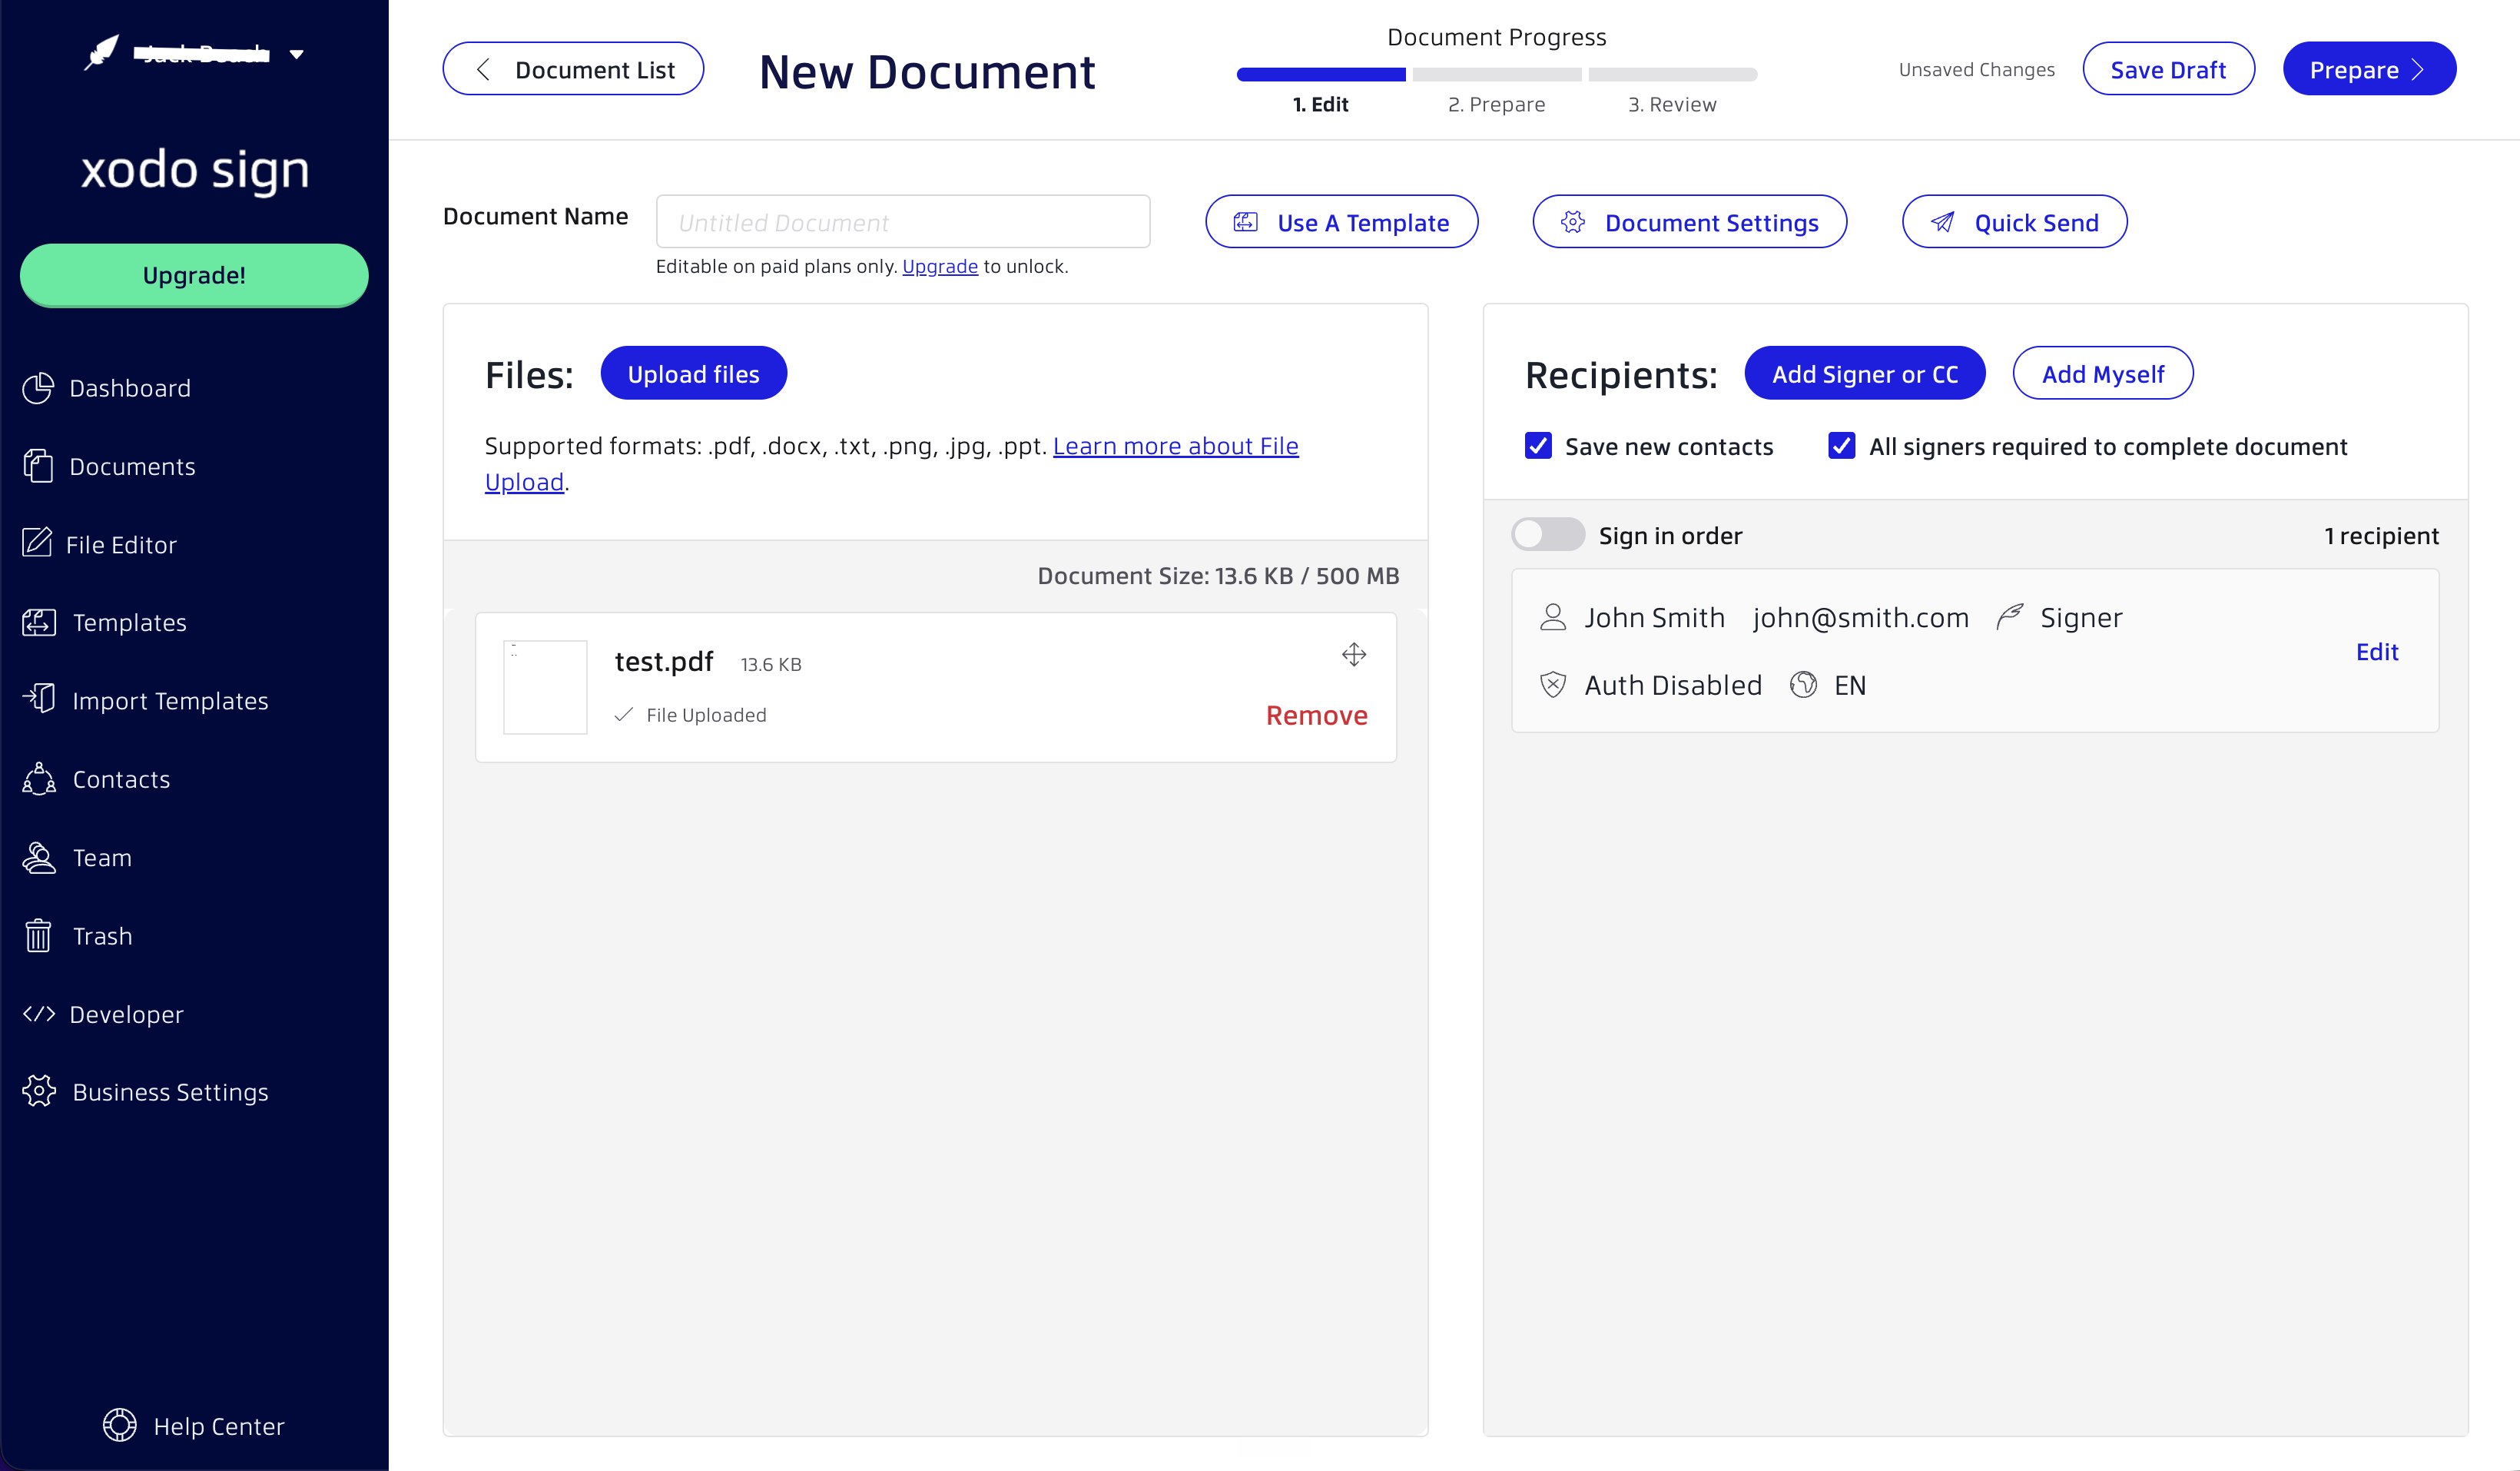
Step 2: Prepare the document
After your document and signer are added, continue to the prepare step to place fields on the document.
Select the recipient you want to assign fields to.
Drag fields onto the document, such as signature, initials, date, or text fields.
Make sure each required signer has the fields they need.
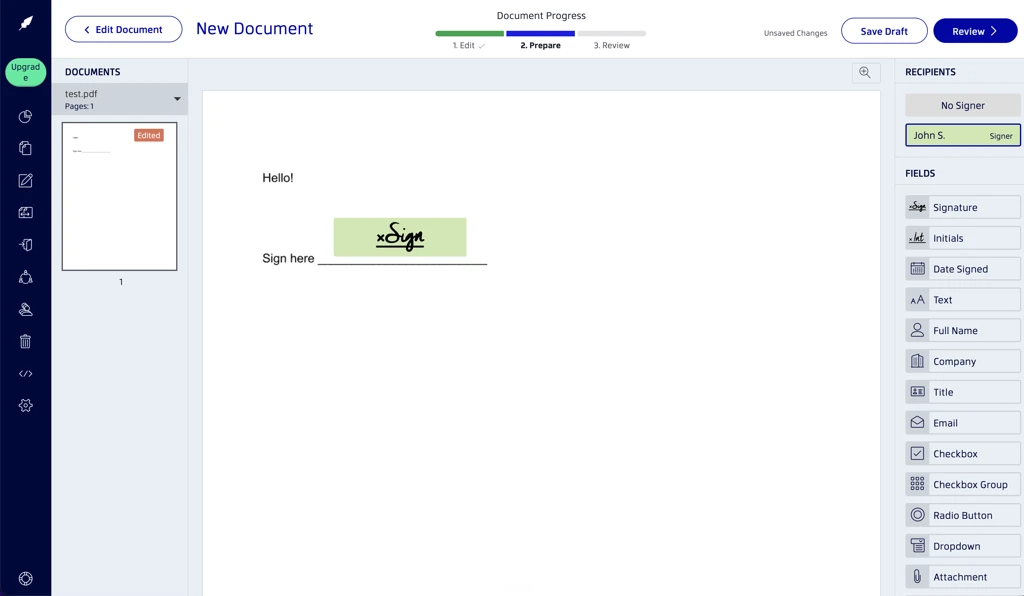
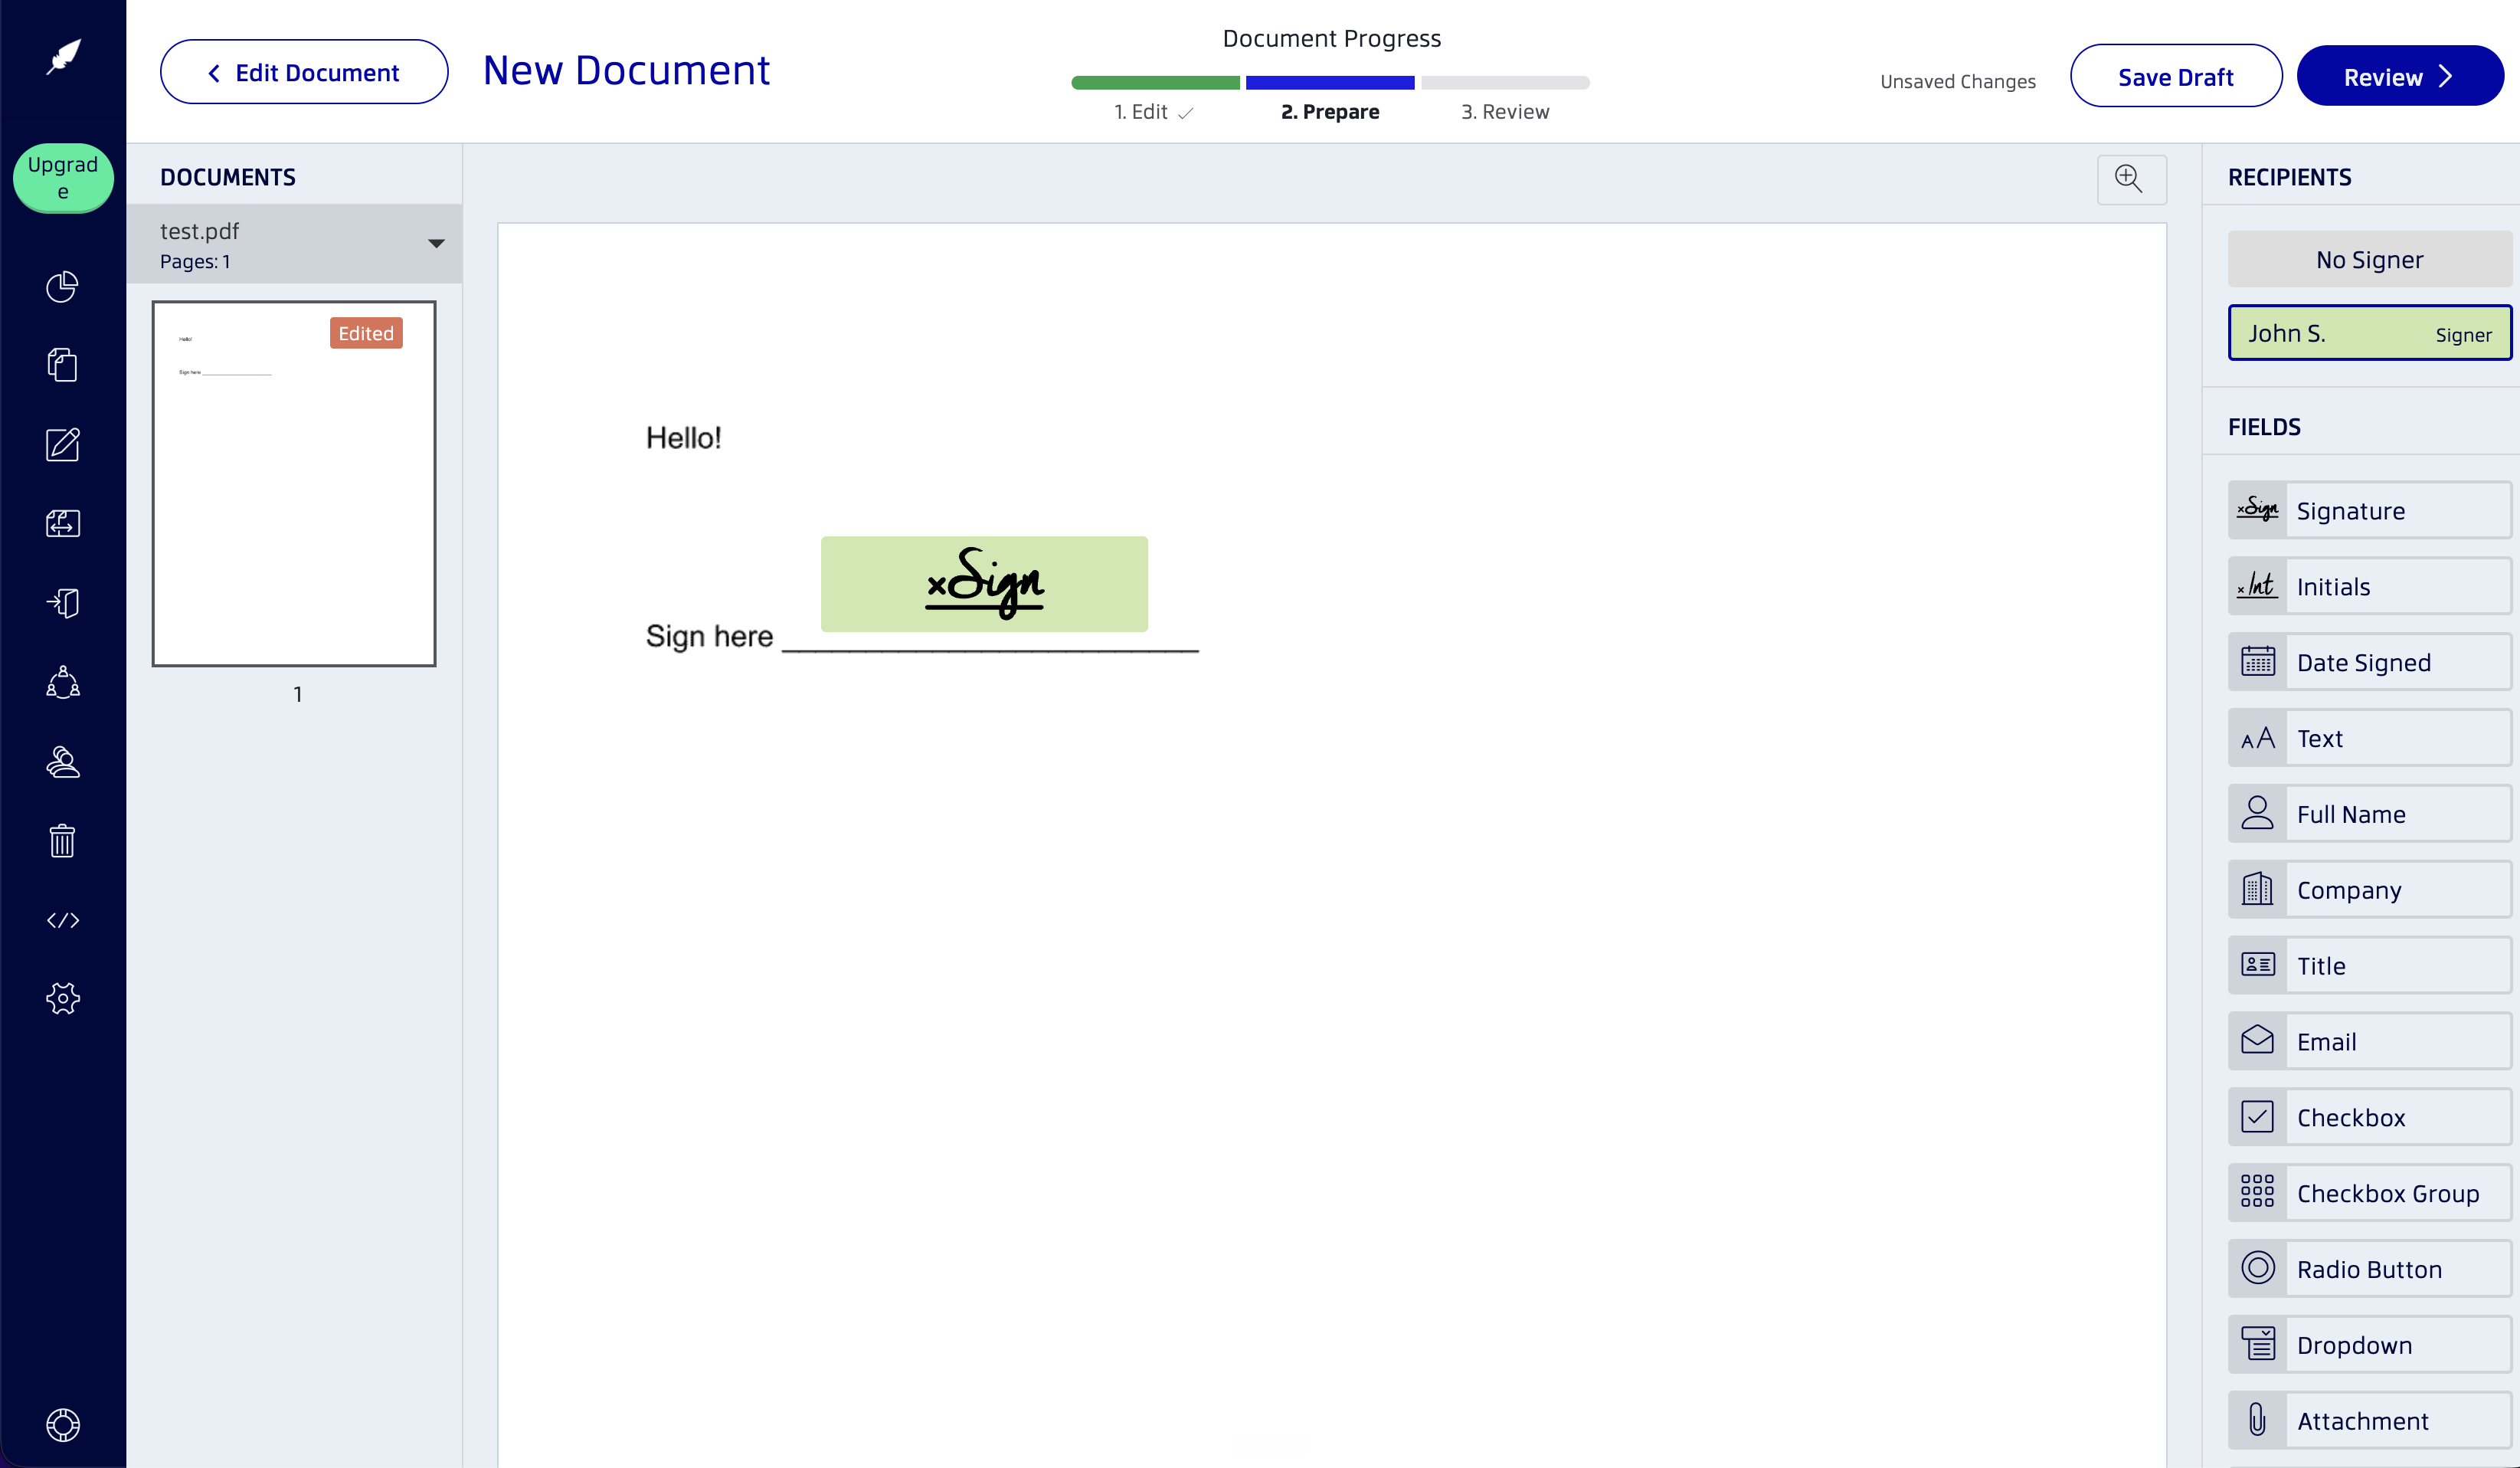
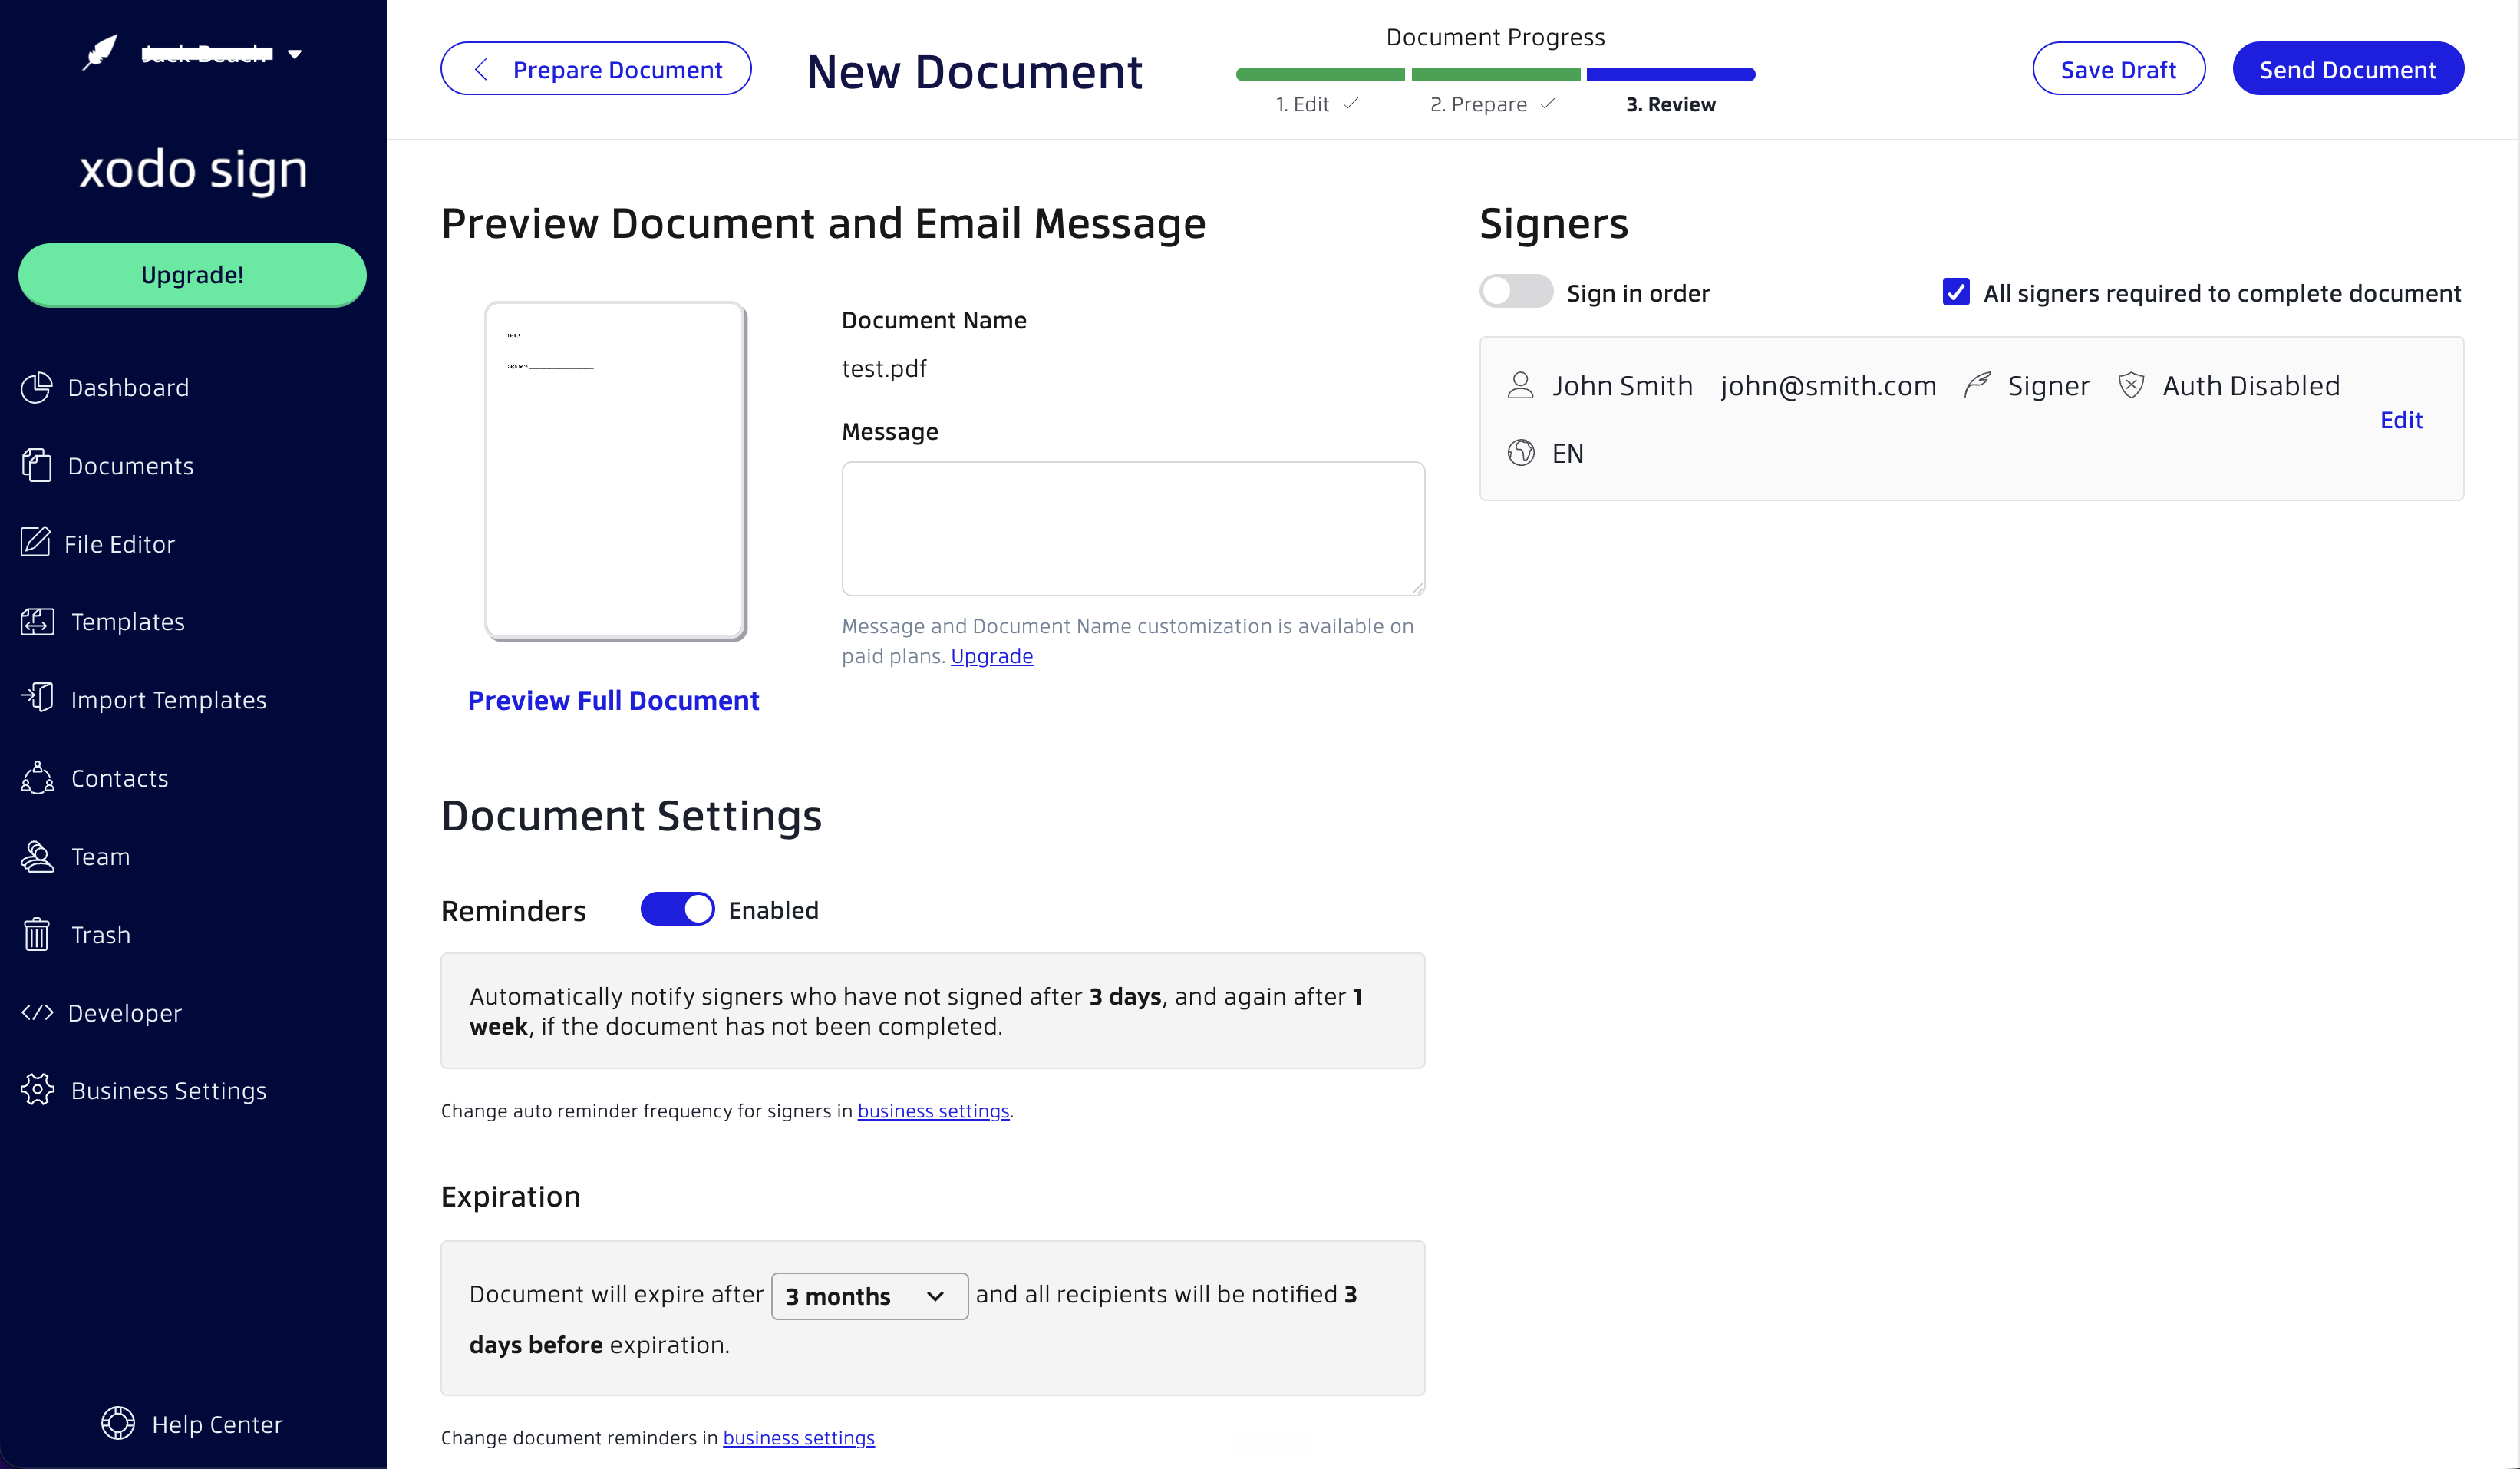
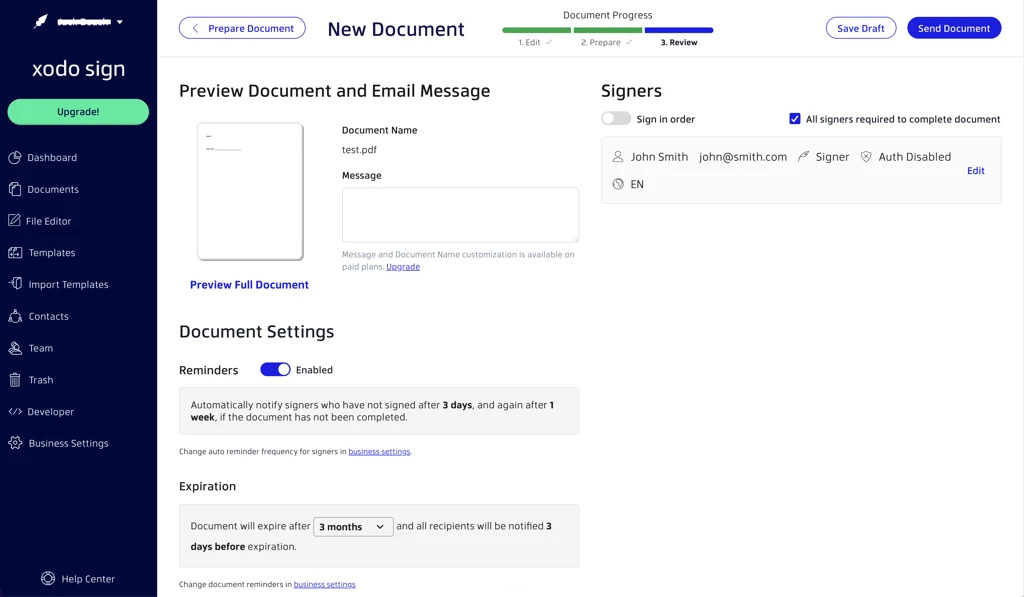
Step 3: Review the send details
When field placement is complete, continue to the review step to confirm the request details before sending.
Review the recipients.
Confirm the message that will be sent.
Check any reminder or expiration settings.
Step 4: Send the document
When everything looks correct, send the document to your recipients.
After sending, a confirmation message appears so you know the request was successfully submitted.
How to switch back to the classic view
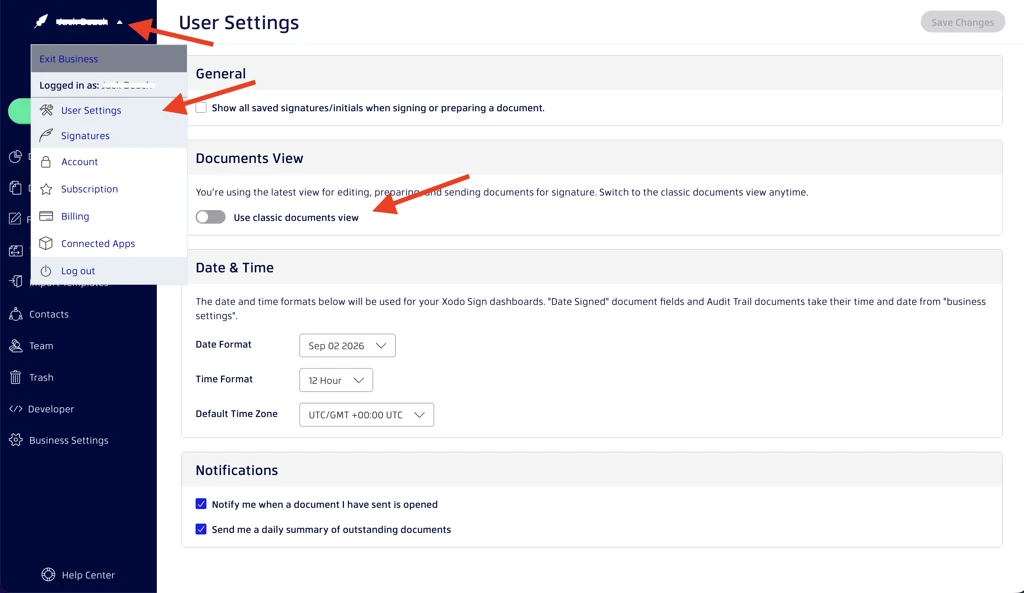
If you prefer the previous experience, you can switch back at any time from your account settings.
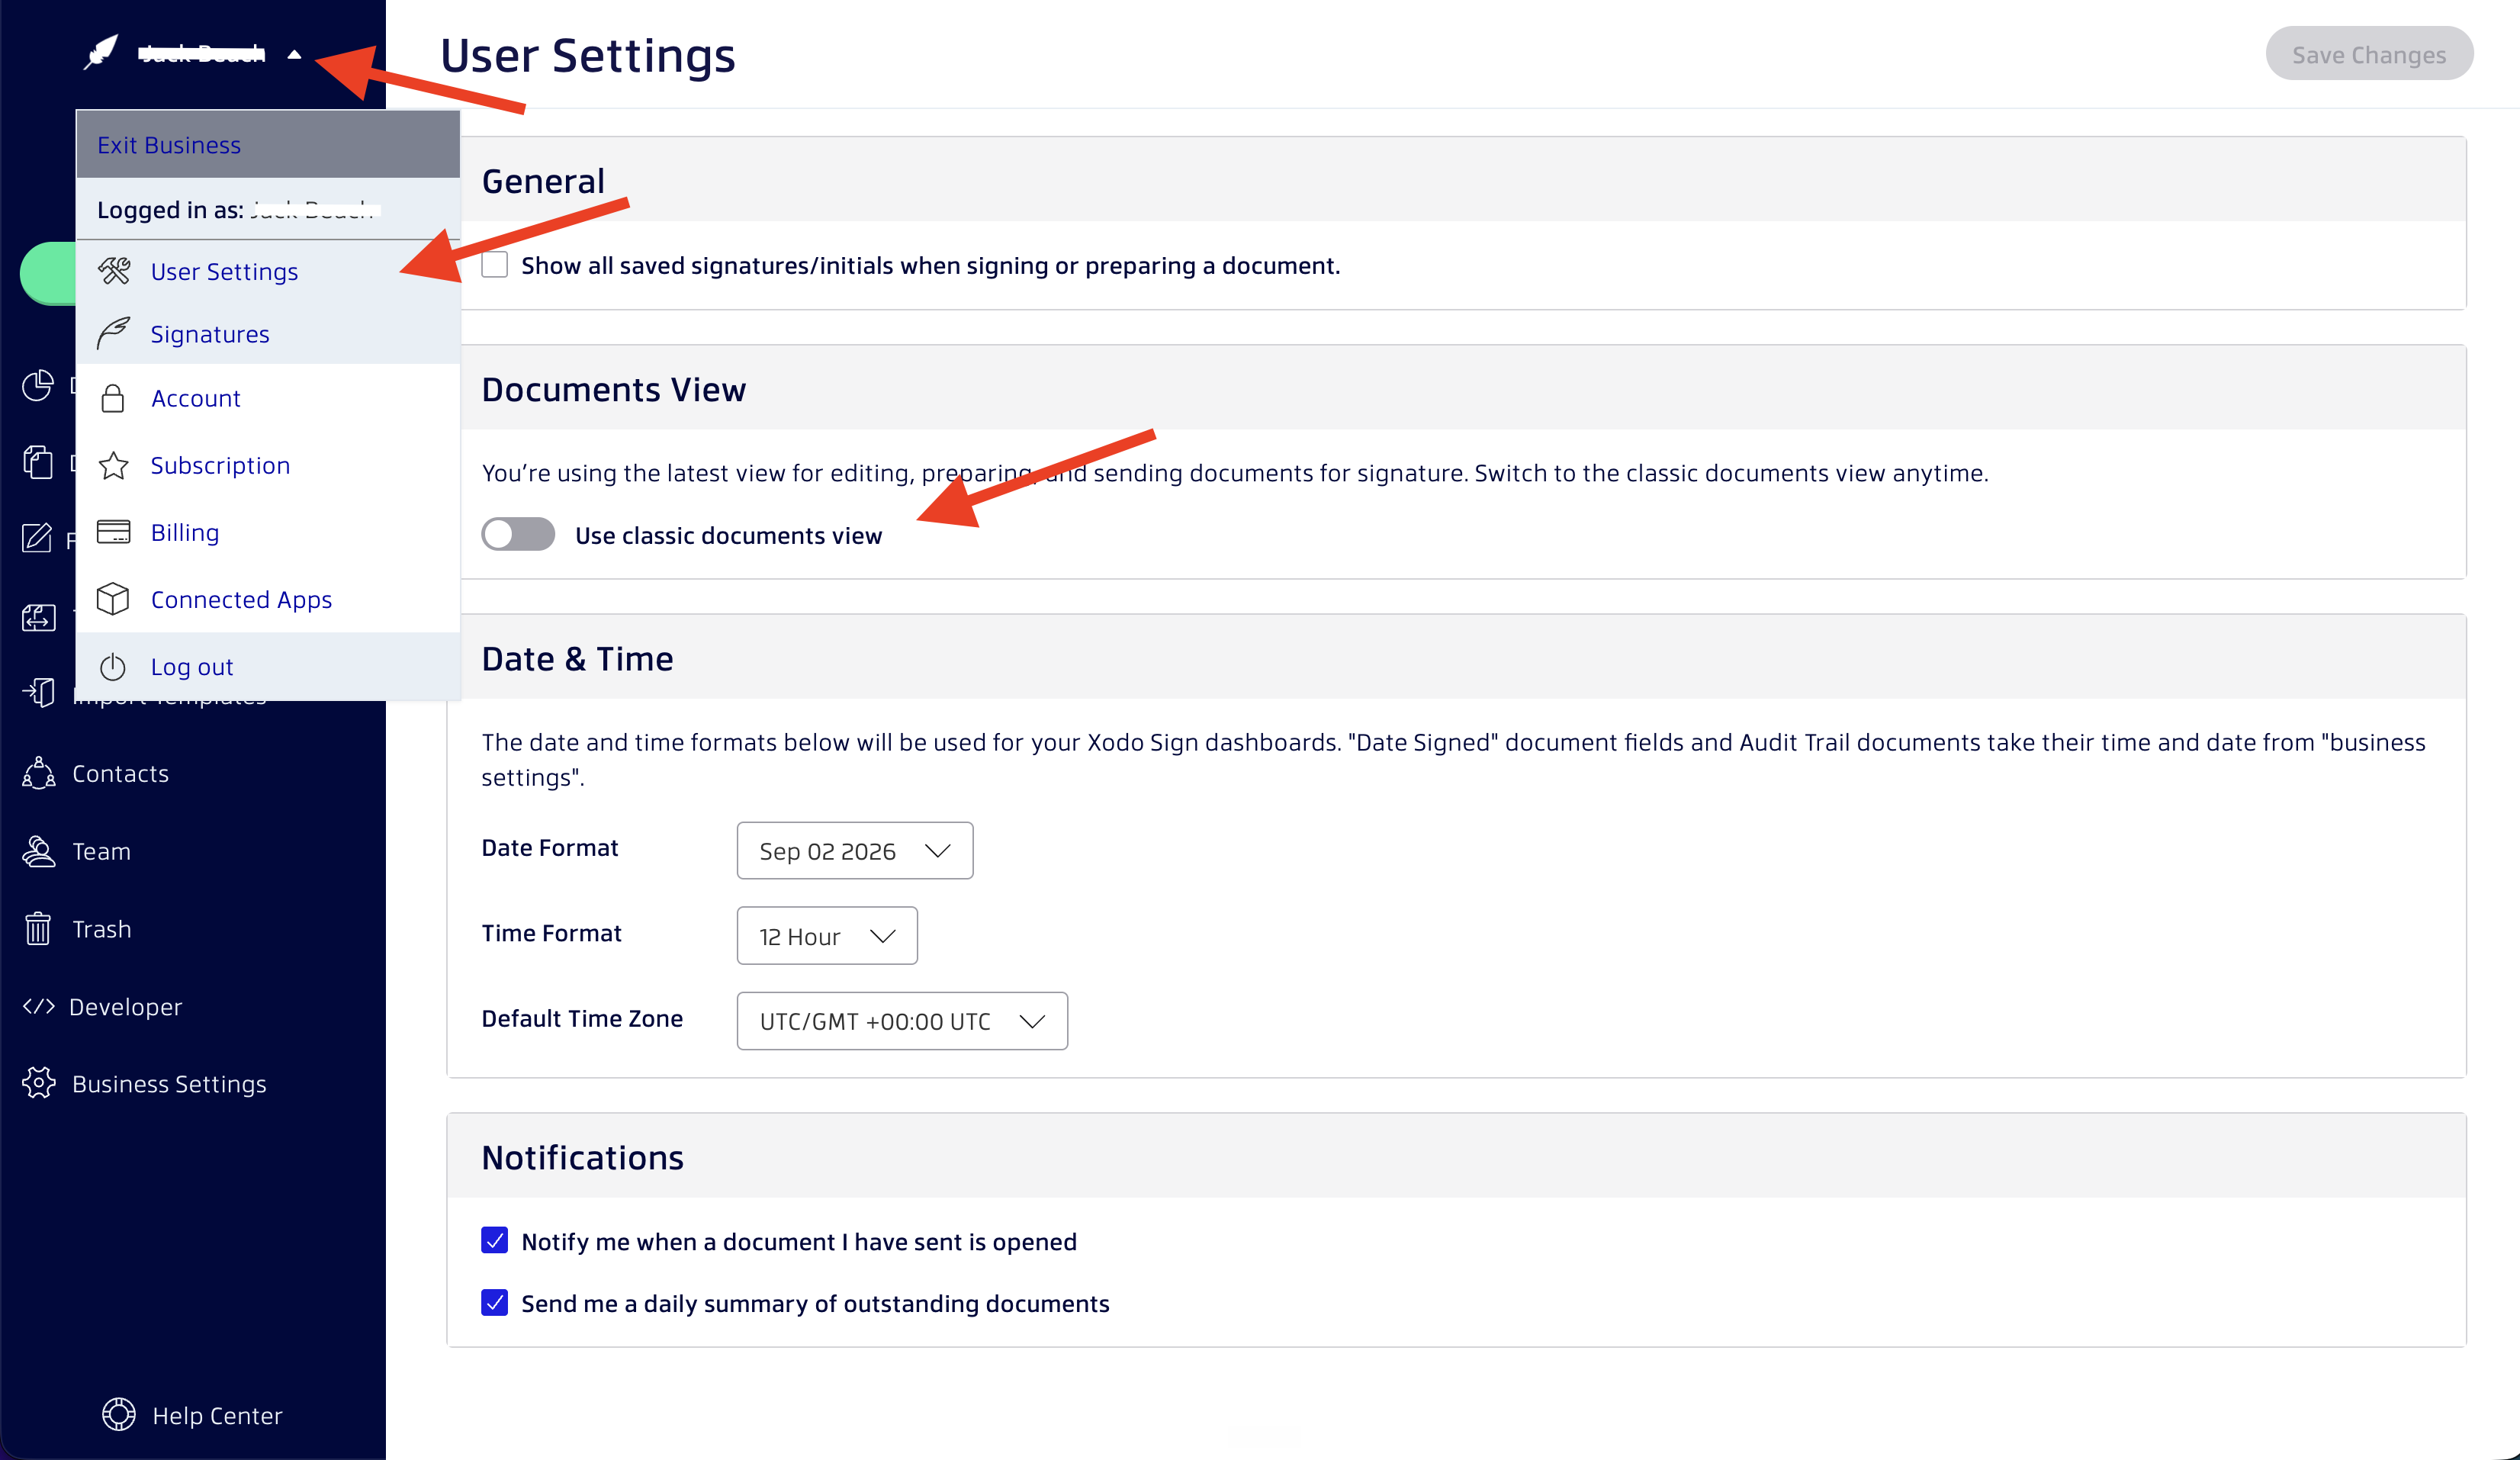
Select your name in the top-left corner.
Click User Settings.
Find the Documents View section.
Turn on Use classic documents view.
Save your changes.
Use this option if you want to return to the previous sending experience. You can switch back again later if needed.
Tips for a smoother send
Add recipients before placing fields so it is easier to assign the right fields to the right signer.
Double-check required fields before sending.
Review the final step carefully to avoid sending incomplete documents.
Was this article helpful?
That’s Great!
Thank you for your feedback
Sorry! We couldn't be helpful
Thank you for your feedback
Feedback sent
We appreciate your effort and will try to fix the article